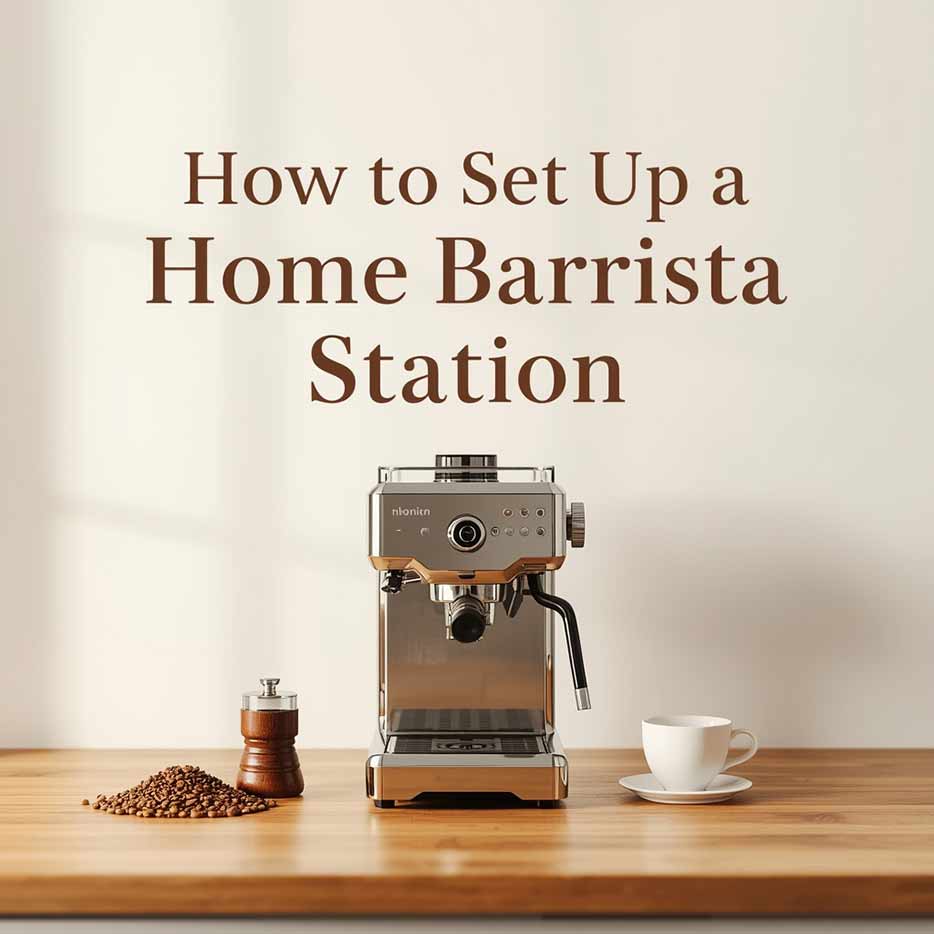
How to Set Up a Home Barista Station
There’s something deeply satisfying about brewing your cup of coffee at your home barista station — especially when it tastes just as good as your favorite café. Whether you’re a casual coffee lover or an aspiring home barista, building your coffee station can transform your daily routine into an experience you look forward to. The good news? You don’t need a huge budget or a professional kitchen to get started.
In this guide, we’ll walk you through everything you need to set up your home barista station, from choosing the right spot to selecting tools and keeping it all clean and organized. Let’s dive in!
Why Set Up a Home Barista Station?
Setting up a home barista station is more than just a hobby — it’s a way to personalize your coffee experience. It gives you:
Benefits:
- Full control over your brew
- The chance to explore different beans, methods, and flavors
- A cost-effective alternative to frequent café visits
- A relaxing ritual that adds joy to your mornings
Tip: Plus, for those in regions like Bangladesh, where high-end cafés may not be accessible in every neighborhood, a home setup makes premium coffee a daily reality.
Step 1: Choose the Right Space
Start with location. You don’t need a lot of room — a small kitchen corner, side table, or countertop will do. Just make sure you have:
- Access to a power outlet
- A nearby water source (or water storage)
- A flat surface with enough room for your equipment and tools
If possible, choose a space with good lighting and ventilation. This keeps your station both practical and inviting.
Step 2: Gather Your Essential Tools
To start brewing great coffee at home, you’ll need a few key tools. Here’s what every beginner barista should have:
-
Coffee Grinder (Burr Grinder)
Freshly ground beans make a huge difference. A burr grinder is far better than a blade grinder, offering consistent grind size — essential for quality espresso or pour-over.
- Beginner Tip: Manual burr grinders are cheaper and great for small spaces.
- Suggested brands: Timemore, Hario, Baratza, or even local options available in Bangladesh.
-
Espresso Machine or Coffee Maker
This depends on your budget and preferred brewing style:
- Espresso Machine: Offers café-style drinks. Look for machines with a steam wand if you love milk-based beverages.
- French Press / Pour-Over Kit / AeroPress: Great for beginners and more affordable.
-
Kettle (Gooseneck preferred)
For pour-over coffee, a gooseneck kettle gives you better control over water flow. Electric kettles with temperature control are a plus.
-
Coffee Scale
Precision matters. A digital scale helps measure coffee grounds and water accurately. It ensures consistent brews every time.
-
Tamper (for espresso lovers)
If you’re using an espresso machine, a solid tamper is a must. It helps apply the right pressure to the coffee puck.
Step 3: Add Optional (But Awesome) Upgrades
Once you’ve got the basics, here are some helpful (and fun) additions:
- Milk Frother or Steam Wand: For making cappuccinos or lattes.
- Knock Box: Disposes of used coffee grounds cleanly.
- Tamping Mat: Protects your counter and stabilizes your tamp.
- Shot Glass or Espresso Timer: Helps monitor extraction time.
- Bean Storage Canister: Keeps beans fresh and flavorful.
- Water Filter Jug: Clean water = better coffee.
These upgrades can enhance your experience without breaking the bank.
Step 4: Organize Your Coffee Station
A clutter-free setup saves time and improves workflow. Use small shelves, trays, or drawer organizers to store:
- Beans and filters
- Cleaning tools
- Cups and accessories
You can even mount hooks for hanging mugs or tools, or use a serving trolley to create a mobile coffee station. Keep it tidy, clean, and ready to use.
Step 5: Learn the Workflow
Making great coffee involves more than tools — it’s about the process. Here’s the basic coffee workflow every home barista should practice:
- Grind: Grind your beans fresh, just before brewing. The grind size depends on the method — fine for espresso, medium for drip, coarse for French press.
- Dose: Use a scale to measure your coffee grounds. A typical espresso uses 18–20g of coffee; a pour-over may use 15–20g, depending on cup size.
- Tamp (Espresso Only): If using an espresso machine, tamp the coffee grounds evenly with consistent pressure.
- Extract: Start the brewing process. Watch the flow and timing (25–30 seconds for espresso is ideal).
- Steam/Froth (Optional): If making milk-based drinks, steam your milk to a silky texture. Avoid overheating.
- Serve and Enjoy: Pour it into your favorite cup and enjoy your café-quality coffee at home!
Step 6: Budget vs Premium Setup Options
You don’t need to spend a fortune to start. Here’s a simple breakdown:
Budget Setup (~BDT 10,000–20,000)
- Manual grinder
- French press or AeroPress
- Basic digital scale
- Electric kettle
- Locally roasted beans
Mid-Range Setup (~BDT 30,000–60,000)
- Entry-level espresso machine (like DeLonghi)
- Electric burr grinder
- Tamper, knock box
- Frother or steam wand
- Quality beans
Premium Setup (BDT 80,000+)
- High-end espresso machine with PID control
- Precision grinder (Baratza, Eureka, etc.)
- Gooseneck kettle with temperature control
- Full barista tool set
- Premium single-origin beans
Choose the level that fits your needs and build up slowly. It’s okay to start small!
Step 7: Cleaning and Maintenance
Clean tools = better tasting coffee and longer equipment life.
Daily:
- Rinse portafilters, baskets, and milk wands
- Wipe counters and equipment
Weekly:
- Deep clean grinders and machines
- Backflush espresso machine (if applicable)
- Clean your kettle and descale if needed
Monthly:
- Replace water filters
- Check for scale buildup
Keep a small cleaning kit nearby with a brush, microfiber cloth, and detergent suitable for your gear.
Step 8: Practice and Experiment
Your first few coffees may not be perfect — and that’s okay! Becoming a great home barista is all about trial and improvement.
- Try different beans and roast levels.
- Adjust grind size and brewing ratios.
- Experiment with milk frothing techniques.
- Watch tutorials from professional baristas.
- Keep a brewing journal to track recipes and results
Each cup teaches you something new. Soon, you’ll be surprising your friends and family with café-worthy drinks.
Conclusion: Your Home Café Awaits
Setting up your home barista station is both fun and rewarding. With a little investment and a lot of love for coffee, you can build a space that brings joy every morning — and impresses every guest. Whether you’re a beginner or a coffee nerd, your journey starts with just one cup.
So, clear a corner, grab some beans, and start crafting your coffee ritual — right at home.